"Autumn in the Forest"
Let’s show another example of a volumetric appliqué made from plasticine, rich in details – “Autumn in the Forest”. This is a vivid example of how plasticine appliqué can also be educational: show the time of year, forest inhabitants, types of trees, bird migration, varieties of mushrooms.
We will need: a sheet of orange or yellow cardboard, soft plasticine, a board and a plasticine knife.
Let's look at the implementation of the application for children step by step:
1. We make a trunk from white plasticine and attach it approximately in the middle of the sheet. Next we form the branches.
Related article: How to sew felt tulips
2. Use the tip of a knife to depict the relief of the bark.
3. We finish the barrel with black plasticine, simply attaching pieces of black plasticine.
4. Now yellow plasticine will come in handy. We tear off pieces from it, lightly pressing them, and attach them to the branches of the tree.
5. Add fallen leaves to the ground in the same way.
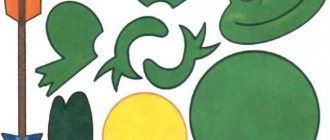
6. From white, brown and red plasticine we form mushrooms - boletus and fly agarics.
7. Making a Christmas tree. It should be formed from below using the overhead method. We make “needles” with the tip of a plasticine knife. We attach the trunk to the Christmas tree.
8. Near the edible boletus we will place a prickly forest inhabitant - a hedgehog. We sculpt a gray silhouette.
9. Let’s bring the hedgehog to life by attaching the eyes and drawing out the fur coat with a plasticine knife. You can add “prey” to him in the form of an apple or a mushroom.
10. And there’s a bunny hiding behind the Christmas tree. Use gray plasticine to create a silhouette and draw in the details.
11. Let’s complement the application with birds and clouds flying south. The work is ready.
Plasticine “Cat”
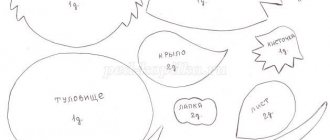
Let's show an example of an applique made of plasticine flagella on a template.
Necessary materials: a prepared template picture (preferably on cardboard), a syringe of at least 5 ml, soft plasticine of different colors, a glass of hot water.
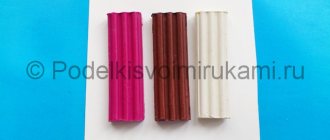
1. Let's prepare the first color we will work with. We crumple a piece of plasticine so that it fits into the syringe.
2. Place the syringe with plasticine in hot water for about half a minute (depending on the temperature of the water and the quality of the plasticine), so the plasticine will become softer. Slowly squeeze the plasticine onto a smooth surface.
3. Repeat steps 1 and 2 for other colors. Using this method, neat flagella of equal thickness are obtained.
4. Let's start filling out the application. You need to do each part one by one, filling evenly. You shouldn't be afraid of breaks - take the next piece and continue.
5. The main part of the work is done. The background can also be made from plasticine using the smearing technique. In this version, we suggest simply using watercolors or gouache.
Types of techniques
There are the following main types of plasticine applications:
1. Smearing technique. With such an application, you can use a ready-made template or drawing, or you can let your imagination run wild. To fill the picture, knead the plasticine well and stretch it across the sheet, filling individual areas of the picture. The work should be done carefully, without going beyond the contours.
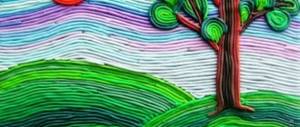
2. Quilling technique or flagella technique. Plasticine applications made using this method will have a very unusual and original look. The drawing can be arbitrary, or you can fill out a ready-made template. To do this, roll out thin strips of plasticine and twist it into the desired shape. To attach, press lightly onto the cardboard.
3. Mosaic made of plasticine. Perhaps the most common and fascinating type of plasticine applique for kids. This type involves the use of a template. You just need to tear off small pieces of plasticine and fill the drawing with them.
4. Technique of volumetric application from plasticine. Suitable for older children. Here you only need three things: a sheet of cardboard, plasticine and limitless imagination. The child comes up with a drawing himself and creates all its details from plasticine.
Related article: Patchwork bags from Japanese magazines - A large selection of ideas
5. Combined application. Here you can use all the techniques listed above, using or not using a template.
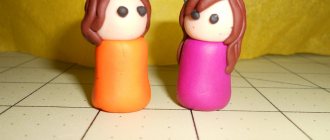
I would like to draw your attention to another very exciting technique - plasticine applications for the little ones. For the holidays, any picture made using this technique will create a sensation. You can choose any thematic picture.